Variable Valve Timing Actuator: Service and Repair
VTC Oil Control Solenoid Valve Removal/Test/installation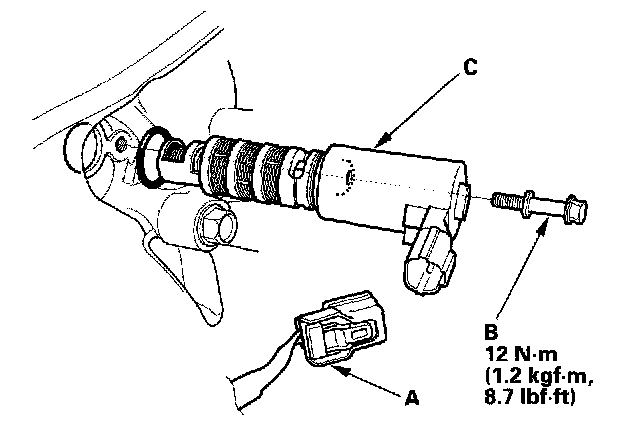
1. Disconnect the VTC oil control solenoid valve connector (A).
2. Remove the bolt (B) and VTC oil control solenoid valve (C).
3. Check the VTC oil control solenoid valve for sticking and the solenoid valve filter for clogging. If the valve is stuck or clogged, replace the VTC oil control solenoid valve.
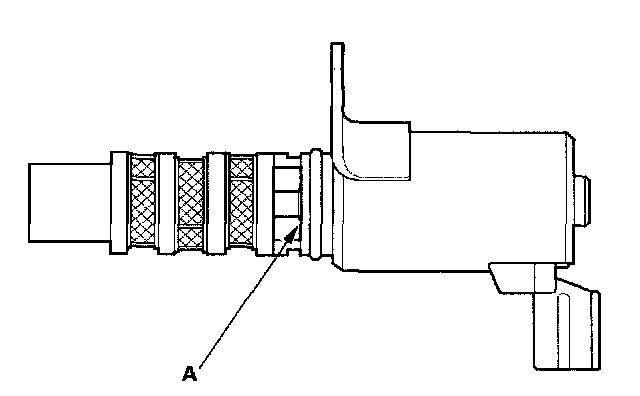
4. Check clearance between the port (advance side) and the valve. Make sure the valve (A) closes fully.
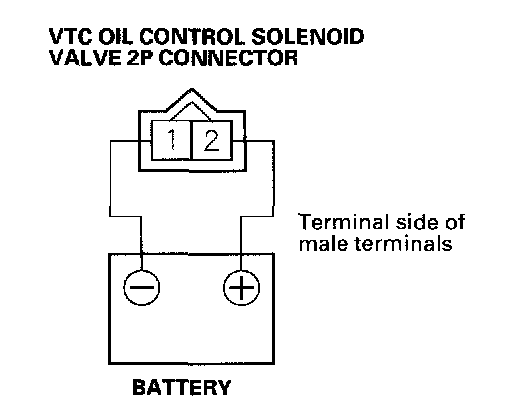
5. Connect the battery positive terminal to VTC oil control solenoid valve 2P connector terminal No. 2.
6. Connect the battery negative terminal to VTC oil control solenoid valve 2P connector terminal No. 1. Clearance (A) should be at least 1.2 mm (1/16 in.). If the valve does not open, replace it, then go to step 7.
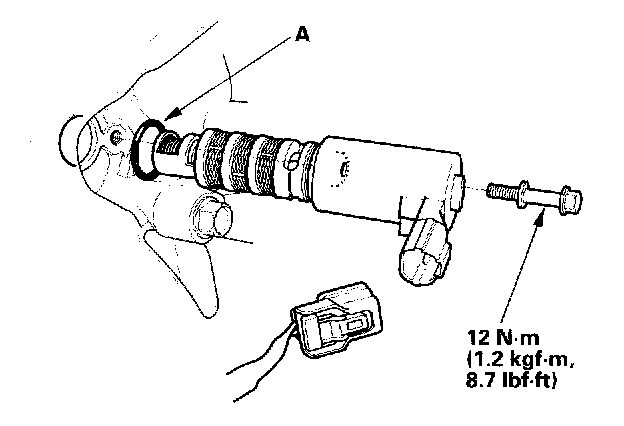
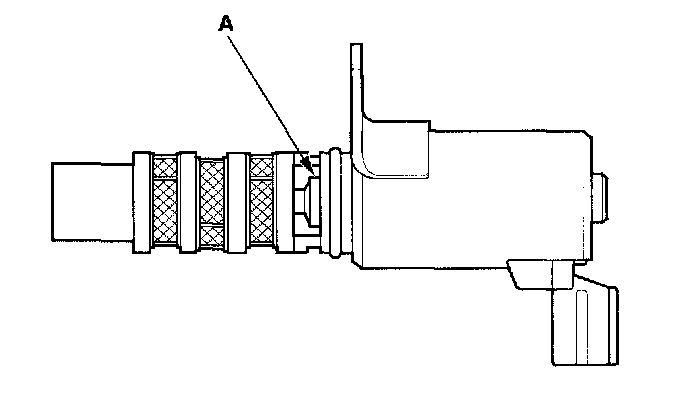
7. Remove the VTC valve O-ring (A).
8. Coat a new O-ring with engine oil, then install it.
9. Clean and dry the mating surface of the valve.
10. Install the valve.
NOTE: Do not install the valve while wearing fibrous cloth gloves. Be careful not to contaminate the cylinder head opening.