Vacuum Brake Booster: Service and Repair
Brake Booster Replacement1. Make sure you have the anti-theta codes for the radio and navigation system, then write down the frequencies for the radio's preset buttons.
2. Disconnect the negative cable from the battery.
3. Remove the master cylinder.
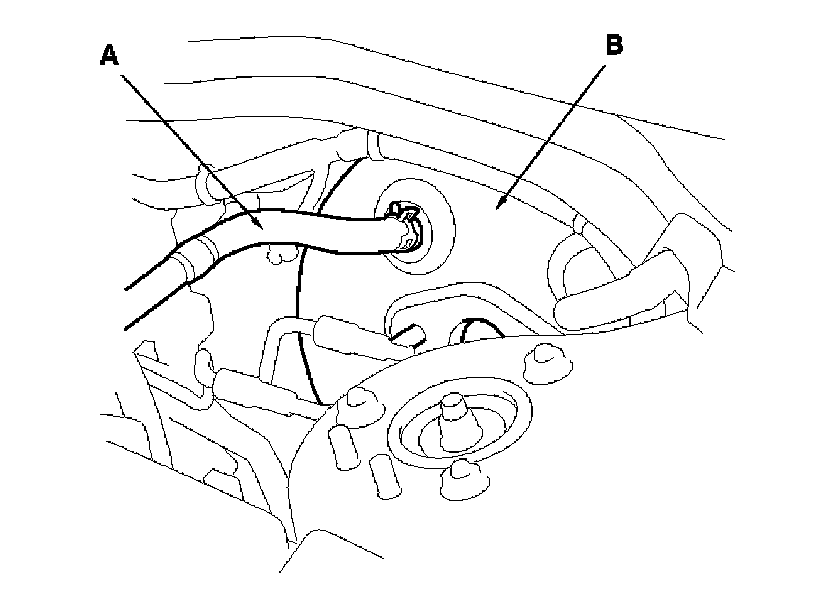
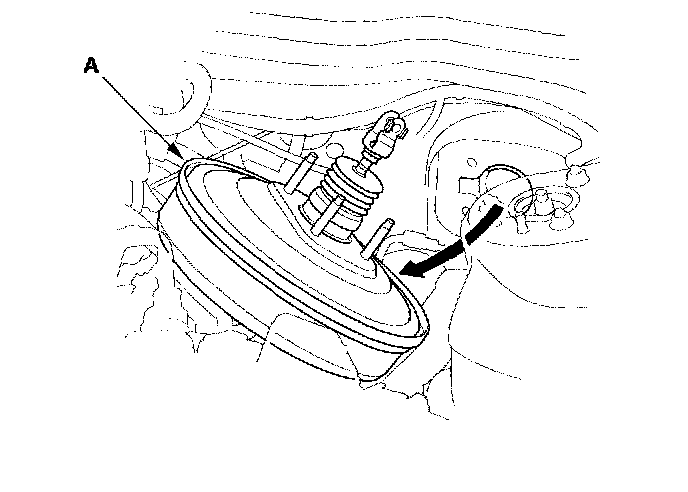
4. Disconnect the vacuum hose (A) from the brake booster (B).
5. Remove the under-hood fuse/relay box cover.
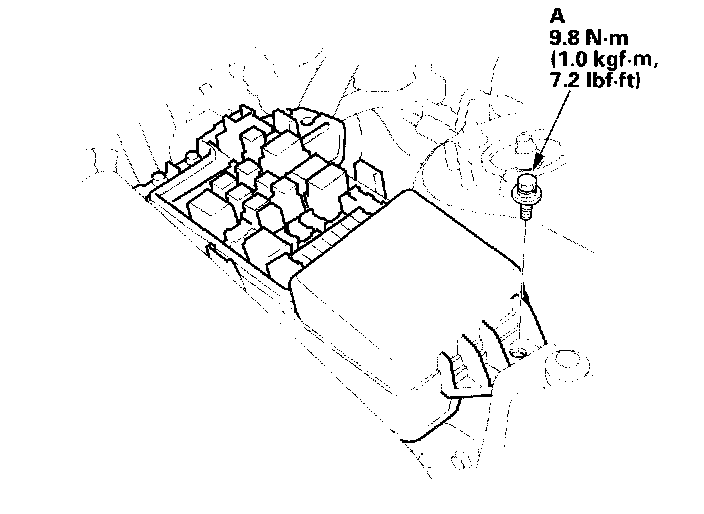
6. Remove the under-hood fuse/relay box mounting bolt (A), then remove the under-hood fuse/relay box from the body.
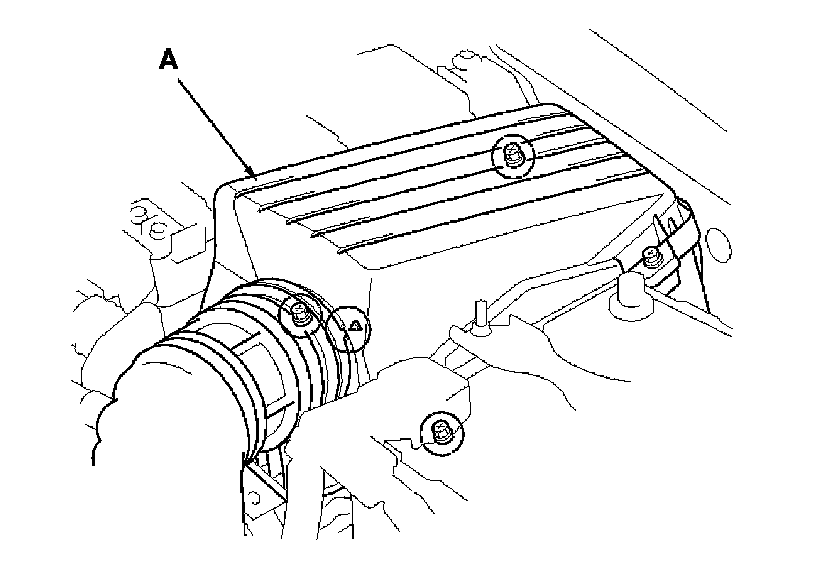
7. Remove the air cleaner assembly (A).
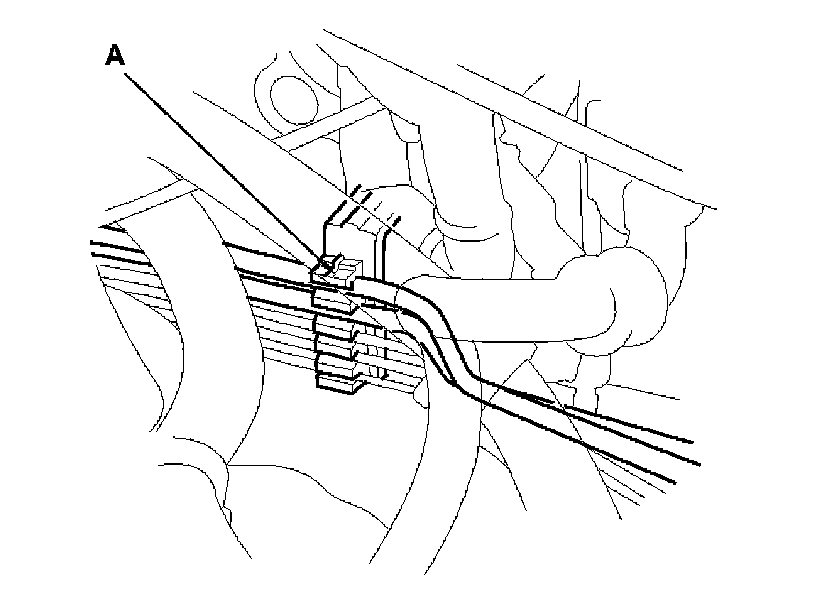
8. Remove the primary and secondary brake lines from the hose clamp (A).
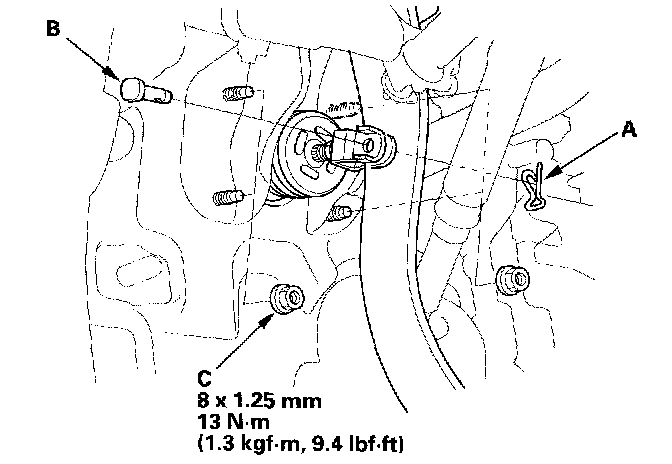
9. Remove the lock pin (A) and the joint pin (B), then disconnect the yoke from the brake pedal.
10. Remove the brake booster mounting nuts (C).
11. Remove the brake booster (A) from the engine compartment.
NOTICE:
^ Be careful not to damage the booster surfaces and threads of the booster stud bolts.
^ Be careful not to bend or damage the brake lines.
12. Install the brake booster in the reverse order of removal, and note these items:
^ Use a new lock pin whenever installing.
^ After installing the brake booster and master cylinder, fill the reservoir with new brake fluid, bleed the brake system, and adjust the brake pedal height and free play.
^ Do the ECM/PCM idle learn procedure.
^ Do the power window control unit reset procedure.
^ Enter the anti-theta codes for the radio and the navigation system, then enter the customer's radio station presets.